by Daniel Currell
Landscaping
Patio Install & Drainage Fix, Huntingdon Cambridgeshire
We recently headed over to Huntingdon to tackle a back garden that was having some real trouble with standing water. The homeowner had a large section of timber decking that had been down for over ten years. It had reached the end of its life and was starting to rot, but the main issue was that it was trapping moisture and causing water to pool against the house. They decided it was time to rip out the wood and replace it with a more permanent patio solution.
It turned out to be a great week in Huntingdon. The sun made its first appearance of the year, and we had a very friendly dog keeping us company and "supervising" from the lawn. Our hosts were brilliant with the refreshments, which always makes the hard graft easier. The end result is a clean, dry garden that’s ready for the homeowner to enjoy without worrying about damp.
Clearing the Site & Recycling Materials
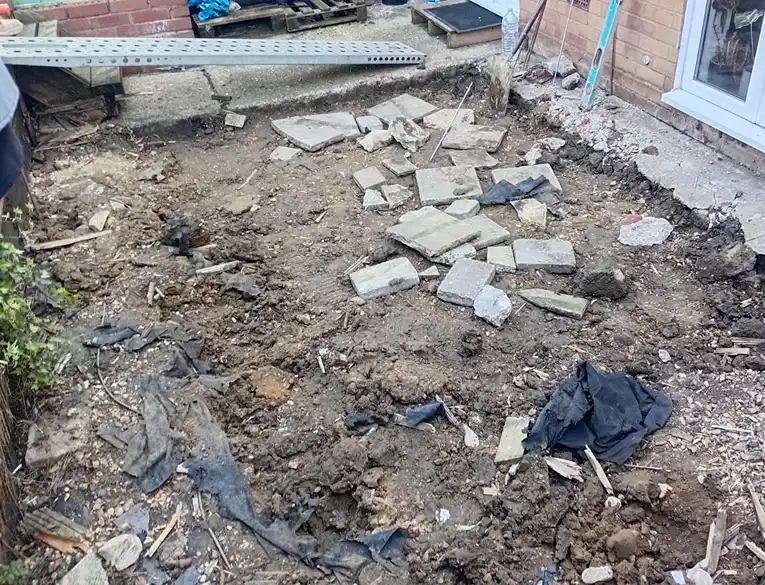
The first phase of any good groundwork job is the muck-away and clearing. We spent the first morning dismantling the old decking; some parts of the deck came up all right, while other parts needed a bit more persuasion to get moved. Once the site was cleared, the old materials were loaded up and disposed of responsibly, leaving us with a clean slate for the new build.
Once the wood was cleared, we had to get stuck into the concrete. We broke out the old path and the sections running alongside the house to make room for the ACO channels. Getting the drainage right was the top priority here to stop that damp from coming back.
Usually, we’d bring in a mini-digger to handle the heavy lifting. However, this Huntingdon garden had a few tricky two-foot drops that would have made maneuvering machinery more trouble than it was worth. Instead, the team dug the area out by hand. It was a fair few tons of soil and old base, but it allowed us to be more precise around the existing house foundations.
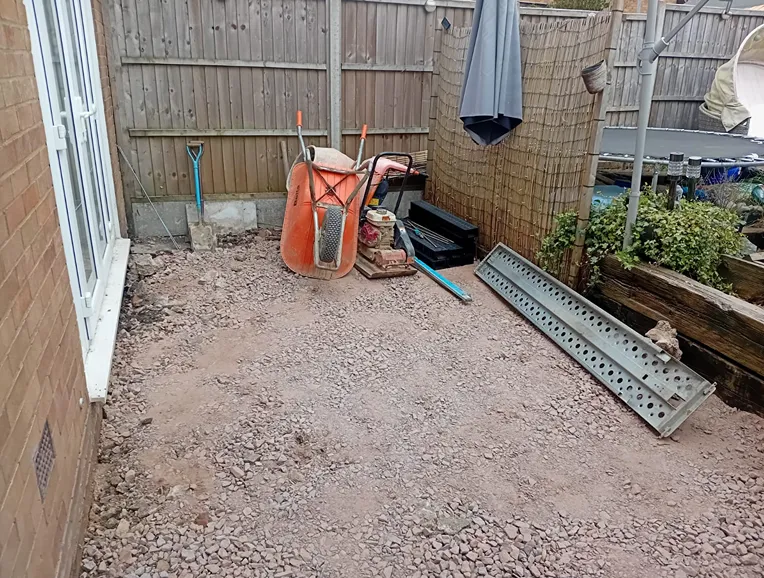
Setting the Drainage and Laying the Slabs
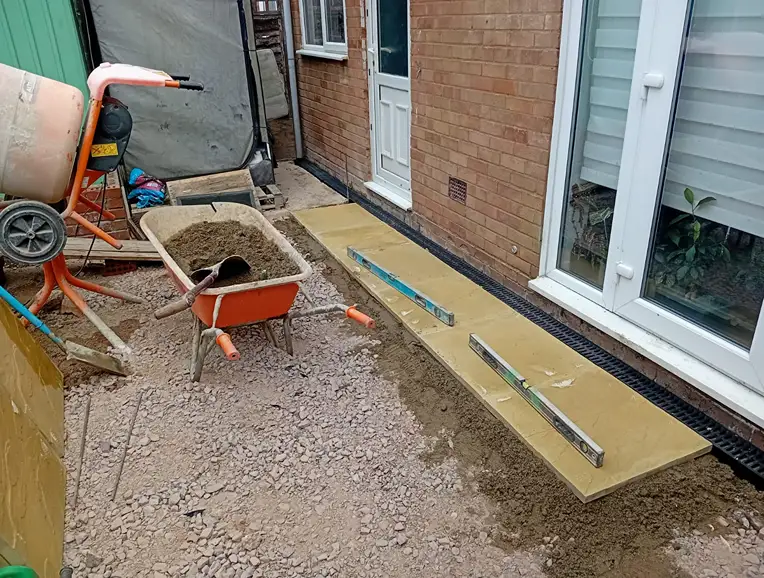
With the area cleared to the correct depth, we brought in the Type 1 aggregate. This is the most important stage for any patio—if the sub-base isn't right, the slabs will move. We spread the aggregate evenly, checking our levels at every stage, and then ran the whacker plate over it multiple times until we had a solid, compacted foundation ready for the mortar bed.
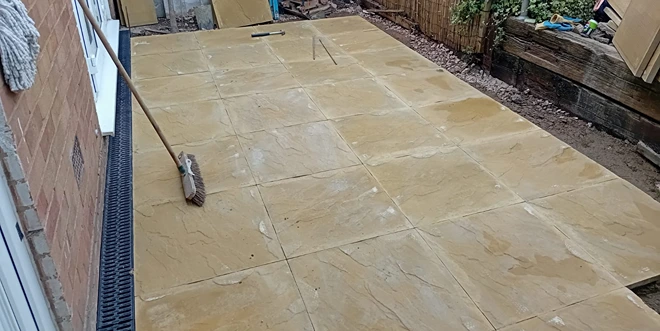
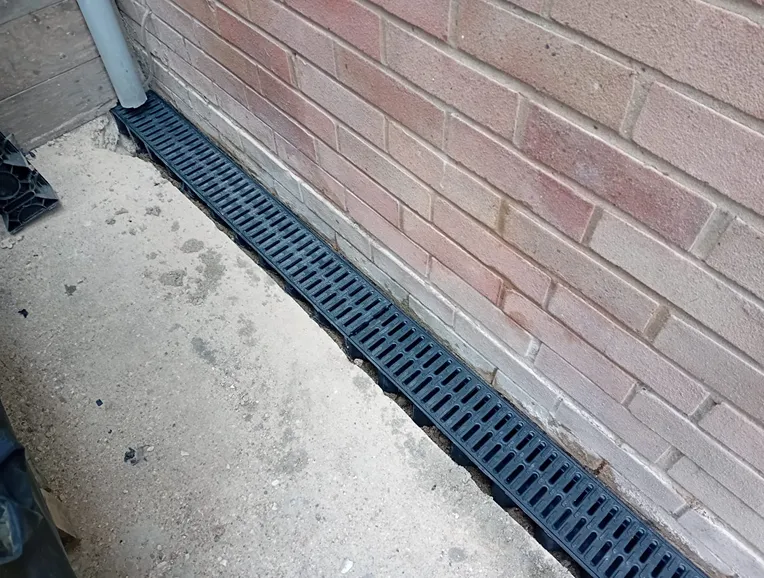
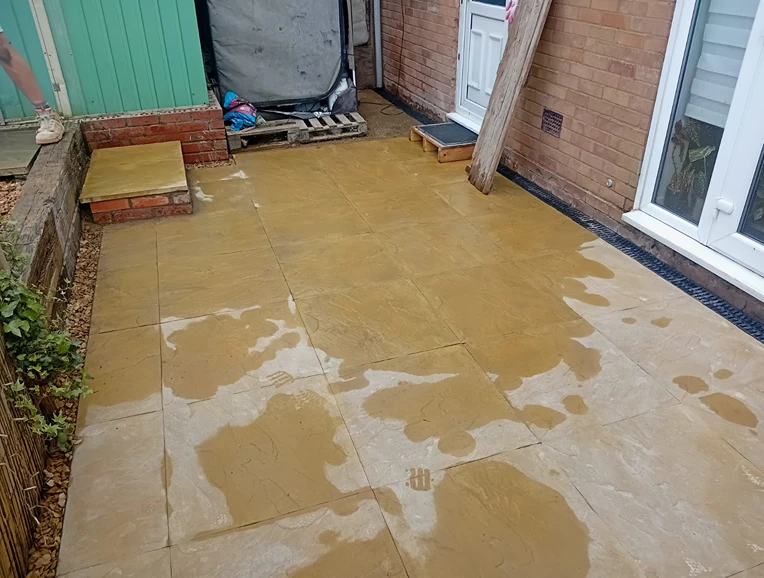
With our string lines set to ensure the correct fall (the slight slope that lets water run off), we began laying the slabs. While part of the team focused on the paving, another member worked on the drainage. We set the ACO channels into a concrete haunch between the new patio and the original concrete pad. These were angled perfectly to catch any runoff and direct it straight into the existing drainage system.
Finishing Touches
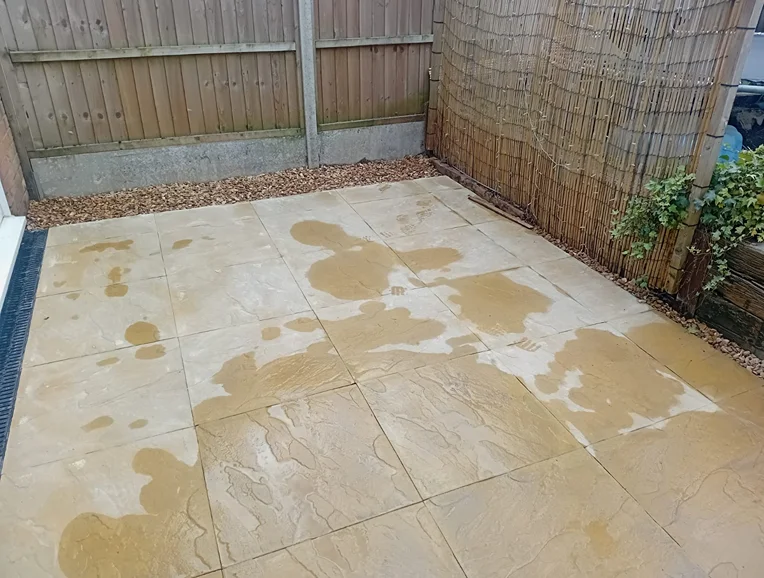
After a couple of days of steady work, the slabs were all down and the drainage channels were locked in tight. To wrap the job up, we laid decorative gravel strips around the perimeter of the patio. This isn't just for looks—gravel is "free-draining," meaning it gives any excess water a place to soak away naturally.
We’d ordered a bulk load of gravel from a local merchant, and since we had a bit left over, we took the time to top up an old graveled area at the back of the garden that had been looking a bit thin for a few years. The end result is a clean, dry garden that’s ready for the homeowner to enjoy without worrying about damp.